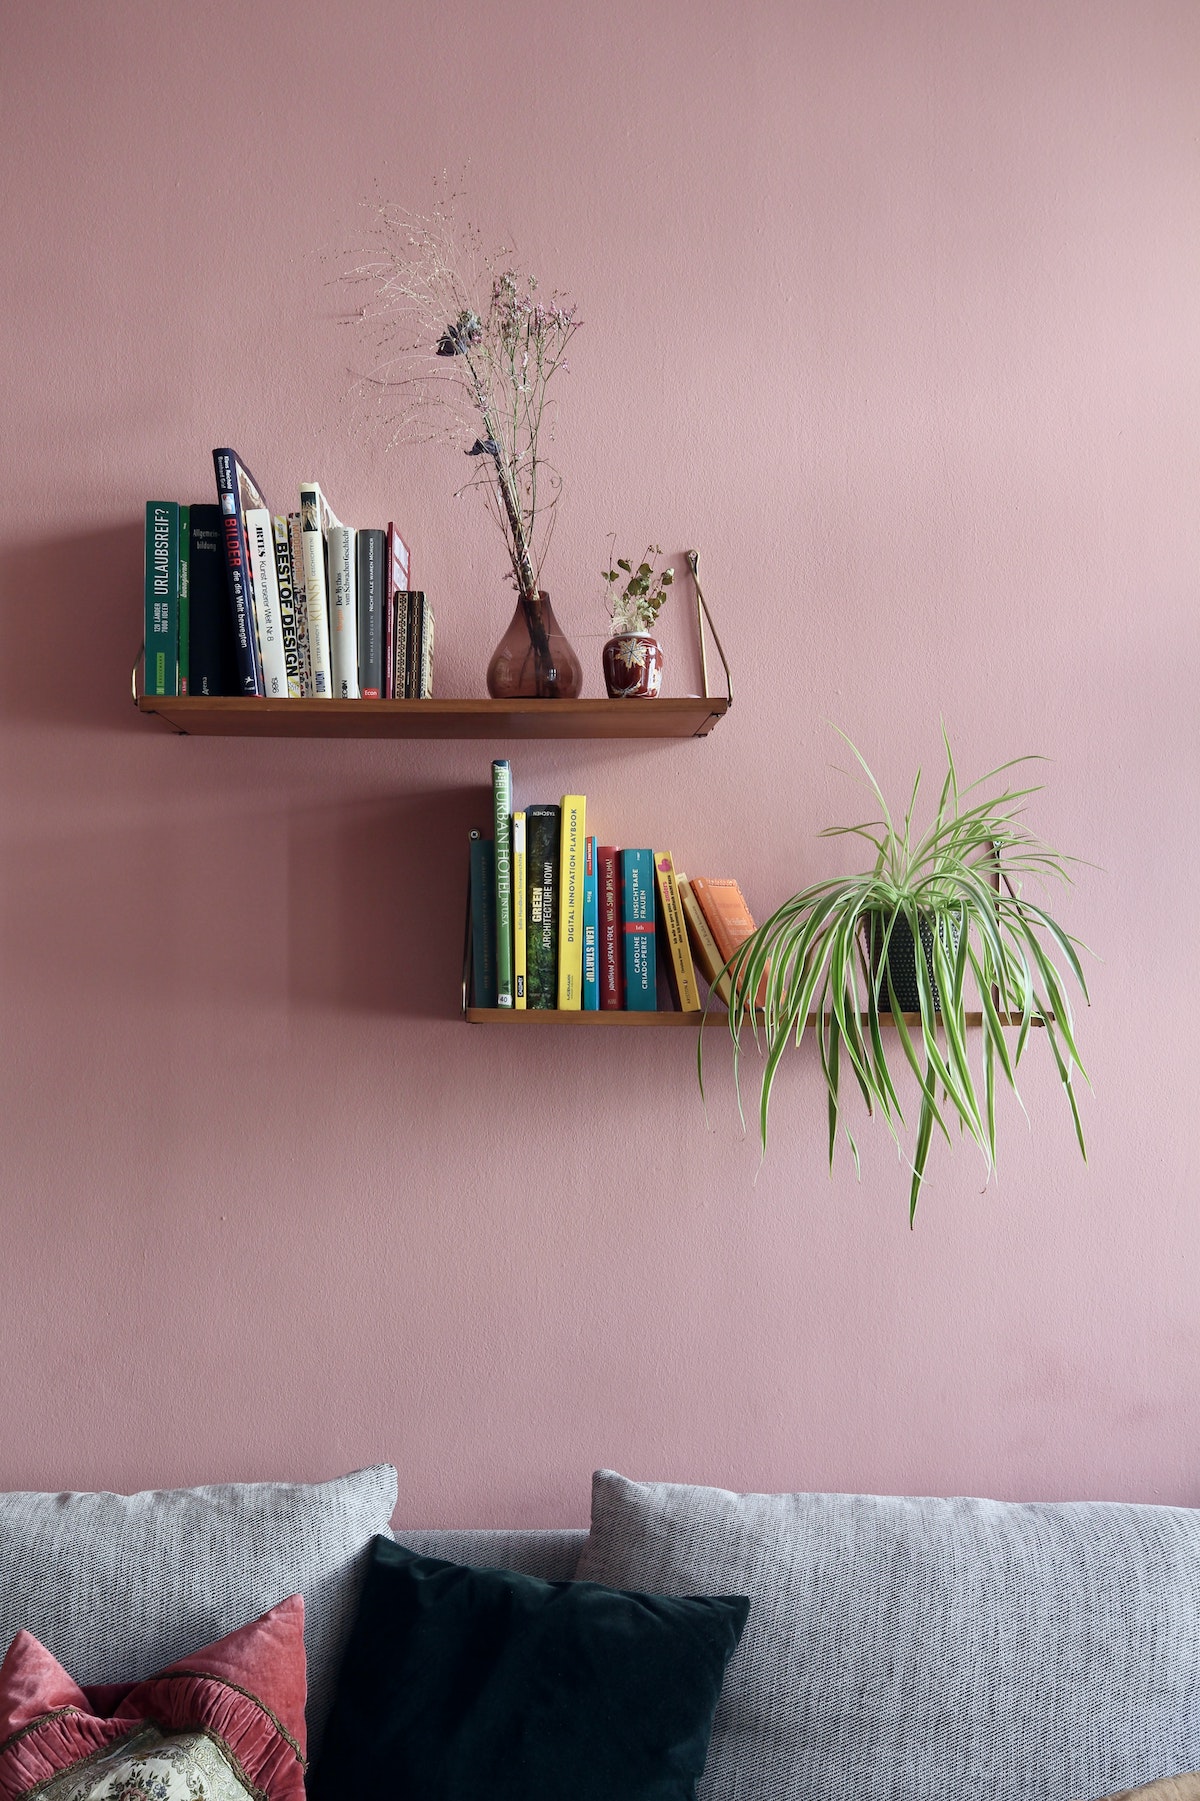
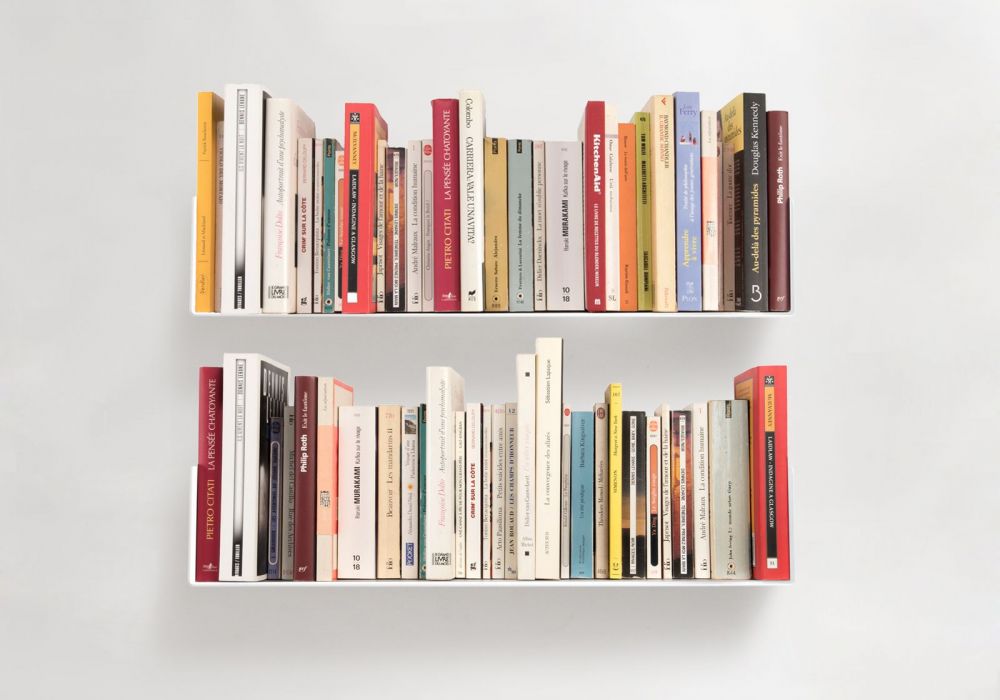
Whether you’re a home decoration enthusiast, a book lover or both, a floating bookshelf adds a dash of imagination to any room while using your wall space effectively.
The traditional bookshelf always does its job of holding books well. However, it’s not always scoring high marks when it comes to elevating your home’s aesthetics. In some homes, nothing disrupts the wall décor more than a couple of brackets hanging under a series of shelves. While bookshelves are lifesavers for the homeowner who has plenty of books, they don’t always work well with other aesthetic pieces in your home.
Enter the floating bookshelves (or book shelves, depending on what you like to read).
Introducing: Floating Bookshelves
Floating bookshelves hare modern mysteries that use visual trickery to astound your guests while holding your books. These installations leave people wondering how you’re holding up your books without using any brackets. They might also think that you invested a lot of money and effort in whatever is holding your books.
But the good news is these floating bookshelves are handsome, easy to build and very affordable. Plus, they’re strong enough to hold your books without showing off visible supports. They look like they float without any help from clunky brackets or hardware.
So how does a floating bookshelf work? How does it look like it’s floating? In general, these installations use the bottom hardcover book to conceal the shelves. As a result, it looks as if your stacked books are floating in the air.
If you want to have a floating bookshelf at home, you have two options: buy or do-it-yourself. If you want to buy, the Pratt Institute’s Umbra Concealed Bookshelf is always a good pick (we’ll list down other good picks later!).
But if you want to DIY your floating bookshelf, go ahead. It’s not as hard as it sounds. In fact, it’s a fun, easy and straightforward project.
How Do You Make a Floating Book Shelf?

Floating bookshelves are cool stuff to add to any room. But how do you build one?
Materials
Before we discuss how to build your floating bookshelves, we need to talk about the materials. Most floating or hanging shelves are made from hollow-core doors, cleats and lag screws that hold the shelf to the wall. Fortunately, you can buy hollow-core interior doors at your local lumberyard or home center; just make sure the doors don’t have pre-drilled holes!
In terms of tools, all you‘ll need is an edge guide and circular saw to cut through the wood. However, it’s better to use a table saw to cleanly cut the cleat. A straight cut is important, especially if you want your floating bookshelf to look good. If you don’t have a table saw, have a professional cut the cleats for you. You’ll also need a wrench, hammer, chisel, lag screws, a level and a carpenter’s glue.
Next, think about the paint. If you want a more natural look for your floating bookshelf, buy doors in wood veneers like maple or oak. Also, to achieve a natural wood finish, cover the exposed edges with a matching wood trim. Another trick is to cover the shelf with plastic laminate to achieve a hard-surfaced shelf.
If you want to paint your floating bookshelf, paint them before you install them. If you’re planning to paint the room also, paint the shelf before you paint the room since it’s difficult to cut around the shelves with a paintbrush.
The Process
To build your own floating bookshelves:
Step 1: Mark the Shelf Position
Trace the horizontal location of each shelf with a level (we recommend using a 4-foot one!). To precisely mark the location of the studs, use a stud finder. Lightly press a piece of masking tape on each location for better accuracy. If you don’t have a string line, mark the wall with a long straightedge and a pencil.
Step 2: Cut the Door
Next, cut the door lengthwise after you clamp the straightedge guide to the door. For a smoother cut, use a carbide blade.
Step 3: Determine Cleat Thickness
To determine cleat thickness, measure the space between the door’s outer veneers. Cut the cleats from a 2×4 thickness.
Step 4: Screw the Cleats
Pre-drill holes at the locations of the studs after you cut the cleats. The cleats function as the mount of your floating shelves. Hold the cleats to the wall’s line and drill into the stud. Using a wrench, install a lag screw into each stud.
Step 5: Scrape Away Excess Cardboard
For a cleaner-looking shelf, cut away corrugated cardboard cores. Scrape away the glue but avoid damaging the wood’s surface.
Step 6: Test Your Shelf’s Fit
Test the fit of your shelf by ensuring the blank fits well over the cleats. Check your shelf’s backside and make adjustments if necessary. Use a sander or a block plane to remove excess material from your shelves for a tighter fit.
Step 7: Install Your Shelf
To install your shelf, apply glue on the inside bottom edge of the door, as well as on top of the cleat. Next, slide the shelves over the wooden cleats.
Step 8: Secure Your Shelves
Cap off your DIY project by nailing the shelves to the cleats. Start at the middle and work your way to the end.
What are the Best Floating Bookshelves?

What if you don’t have the time or resources to build a floating bookcase, you can always buy one! Here are some of our favorite adorable floating shelves that might complete your home.
Mkono Mountain Floating Wall Shelf
This floating shelf is an art piece already. Made of wood and shaped like the beautiful mountain ranges, Mkono’s Mountain Floating Wall Shelf is a pretty way to display your books, as well as your photos and other mementos. If you have souvenirs from your hikes, place them here! This floating shelf also comes with a wire backing, which gives it a rustic look.
Takara Live Edge Shelves
If you want a more natural-looking shelf, go with the Takara Live Edge Shelves at West Elm. Made of reclaimed wood from felled trees, these floating bookshelves are sturdy enough to display your books and other decorations. They are also available in different sizes.
Ekena Millwork Floating Shelf
If you want something more elegant or if your home gives off Bridgerton vibes, try these decorative shelves. The scrolls and florals are perfect for historical-looking homes. This shelf comes factory primed and if you want to paint it, it’s OK!
Are Floating Shelves Suitable for Books?
In general, the deeper your floating bookshelf is, the less weight it can hold. This means your thick A-Z encyclopedias aren’t going to last. If you want your floating bookshelves to accommodate more books, strengthen your brackets.
Typically, a floating shelf can support about 20 to 30 kilograms, depending on the material of the books and the strength of the supporting brackets.
A floating bookshelf is a perfect addition to any booklover’s home. Even if you’re not a big lover of books, you can also use floating bookshelves to display your mementos and amaze your guests at the same time.

