Red lanterns dot the streets as the world celebrates Chinese New Year. The Chinese have indeed diversified our ways to celebrate new beginnings. Well, for most of us, the celebration still mainly involves red wine, swearing on resolutions we can’t keep, and watching a huge ball drop in Times Square. But on Chinese New Year’s Day, we share in celebrating customs from ang baos (red envelopes containing money), dancing lions, to spring cleaning.
Most American homes have their own version of spring cleaning that starts in March. Unlike the Chinese spring cleaning that is more symbolic—as a ritualistic custom to rid your homes of bad luck—American spring cleaning sprang from environmental reasons.
Getting Rid of Winter Grime
It is common practice to clean homes weekly, but rarely do we go through every nook in the house. Dryer vent cleaning is one crucial cleaning task that most households overlook, leading to clogged exhaust systems.
This is partly due to the American climate, wherein one season, winter, makes it impossible to clean our homes thoroughly. And once the snow evaporates, the house is left covered in a layer of dust of moist spots. Thus, for decades, the biggest annual cleaning happens in spring, after the winter has gone.
History professor Susan Strausser thinks we continue this tradition because our bodies respond to seasonal changes, and life does seem to open up during spring.
A housewife from the 1860s journaled the tedious cleaning process years before, which involved dusting the kitchen 350 times. With new tools and hacks today, the task doesn’t need to be Herculean anymore.
Manage Your Spring Cleaning Tasks
Big tasks become manageable when you go through them one step at a time. Start with a plan before springtime. Make two checklists: one for all cleaning supplies you’ll need and another for all cleaning chores to complete.
Update your supply cabinet with new cleaning technology, if you haven’t already.
Updated Gadgets
Silicone Sponges.
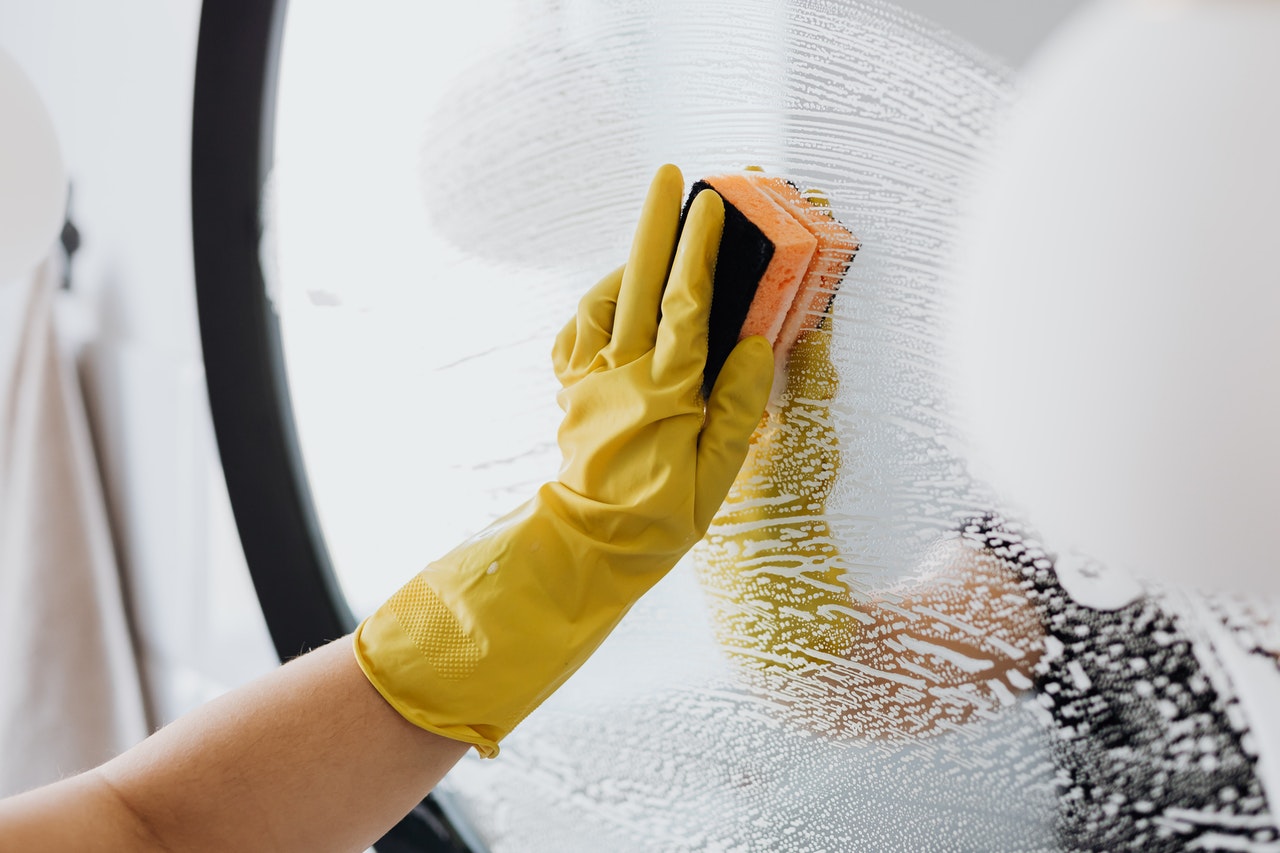
The Mythbusters episode, “Hidden Nasties,” revealed what we all knew but didn’t want to hear: kitchen sponges are dirtier than toilet seats in terms of the number of bacteria colonies. It doesn’t matter whether you regularly soak them. In fact, regular soaking in soapy water may even lead to more colonies of Moraxella osloensis. Yikes! The traditional kitchen sponge’s porous material and thick surface account for this nasty discovery. For a more hygienic option, silicone sponges have wiggly bristles where bacteria cannot grow.
Electric Brushes.
There are handy drill brushes to make it easier for you to scrub those spots and stains.
Magic Eraser.
For the more stubborn dirt marks, a specially formulated mix can be applied.
Clear and Dust Everything Up
What’s the most visible clutter you can see? Start with those. Then work your way to the smallest ones. This way, each group of clutter put away feels like a level accomplished.
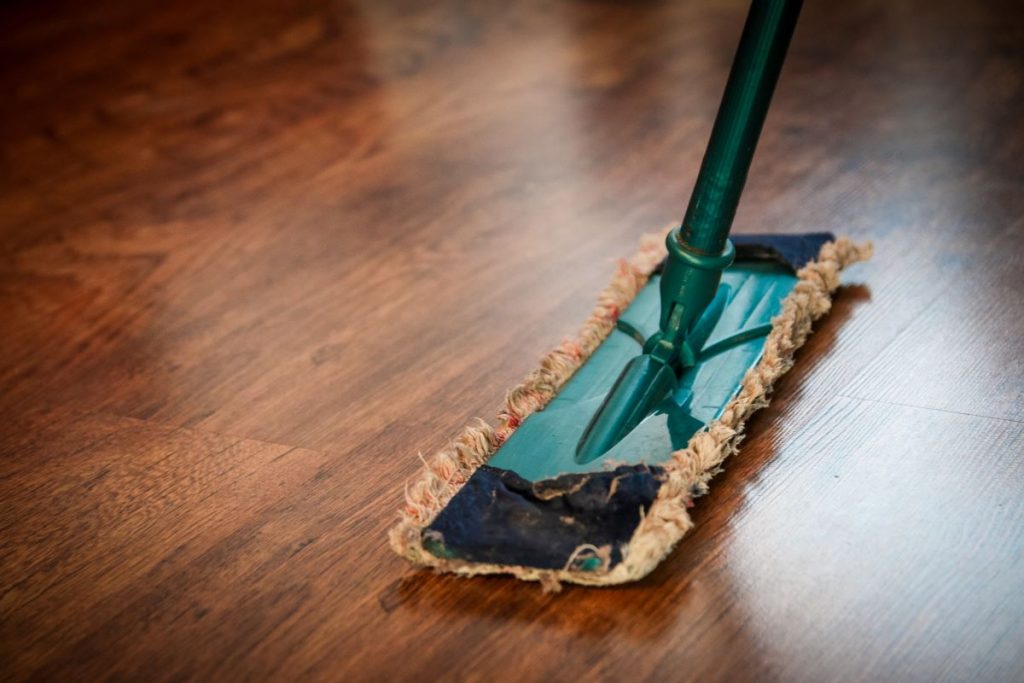
Before applying any wet cleaning agents, dust the walls and furniture and sweep every bit of hair and particle on the floor. If not, adding water and soap will only look and feel messy.
Clean areas one room at a time, starting with the most secluded areas until you make your way to the bigger spaces.
Don’t Forget the Small Picture
With all areas of the house needing attention, it’s easy to be mindless with the tiny objects. But this can be where you can find the most dirt buildup. Computer parts, for example, are right by the alley of kitchen sponges in bacteria colonies. A survey showed that among 4,000 respondents, 11% or one in 10 people never cleaned their keyboards, while two in 10 never cleaned their mouses. For the rest who cleaned their keyboards and mouses, it was not done thoroughly. Most people usually just swipe through the keyboard without brushing the spaces below and in between the keys. In addition, more than half of the respondents cleaned their keyboards only once a month.
Don’t Forget the Odors
The keys to an odor-free home are already sitting in your cupboard. Baking soda, lemon, and coffee grounds are effective agents against stinky house smells.
You can mix these and let the concoction heat up in the microwave for two minutes before scrubbing the microwave walls.
Post-cleaning Prevention
Use two mats—one in front of the entrance door and another inside the house—to lessen the dirt that spreads into your home.
Develop a more organized storage system for the long run. There are various ways: you can use colors to code cabinets and drawers, or you can simply vacuum seal all unused items to instantly free up space.
You don’t have to fit all tasks into a single day, or week even. You can spread them out over the first month of spring, if that works for you. What’s important is that you begin and get to it. Once you do, you’ll be done before you know it.